Level 2 scratch build

A personal rocket build
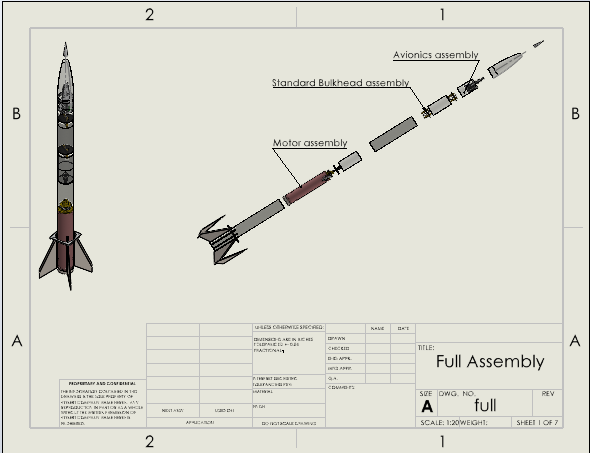
SolidWorks full assembly drawing with assembled and exploded views of the rocket.
I used SolidWorks to create the rocket’s assembly drawings and a bill of materials (BOM) to reference throughout the build.

I took on this personal project to challenge my understanding of advanced rocketry systems and strengthen my design skills. I plan to fly this rocket between earning my Level 2 and Level 3 certifications.
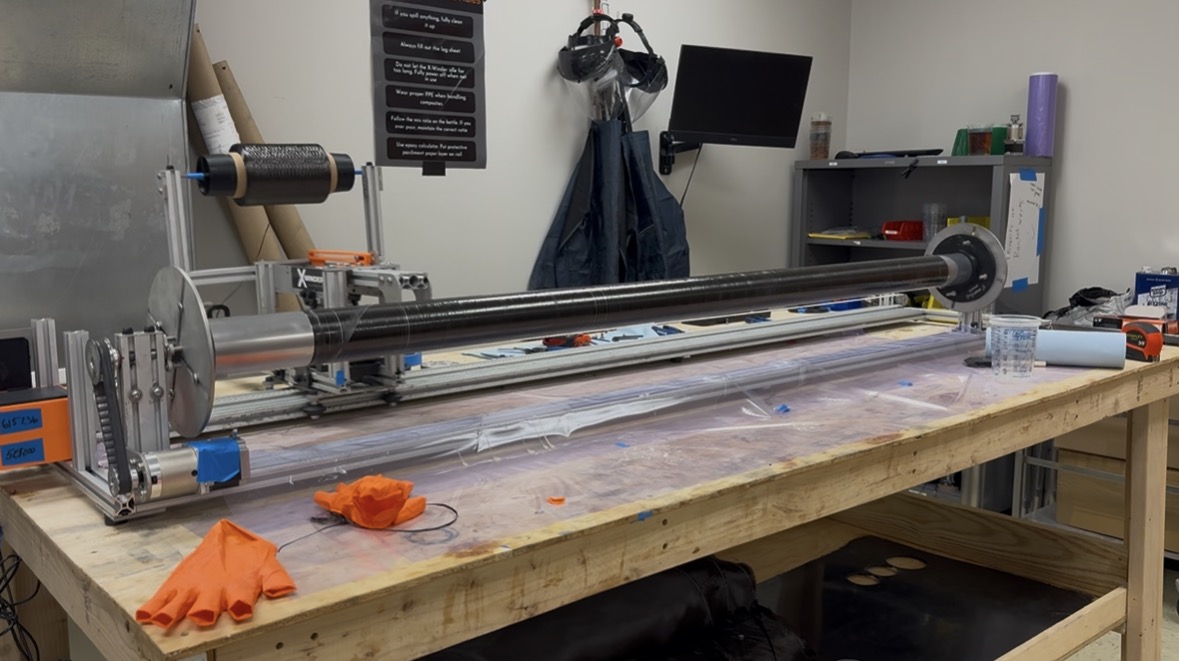
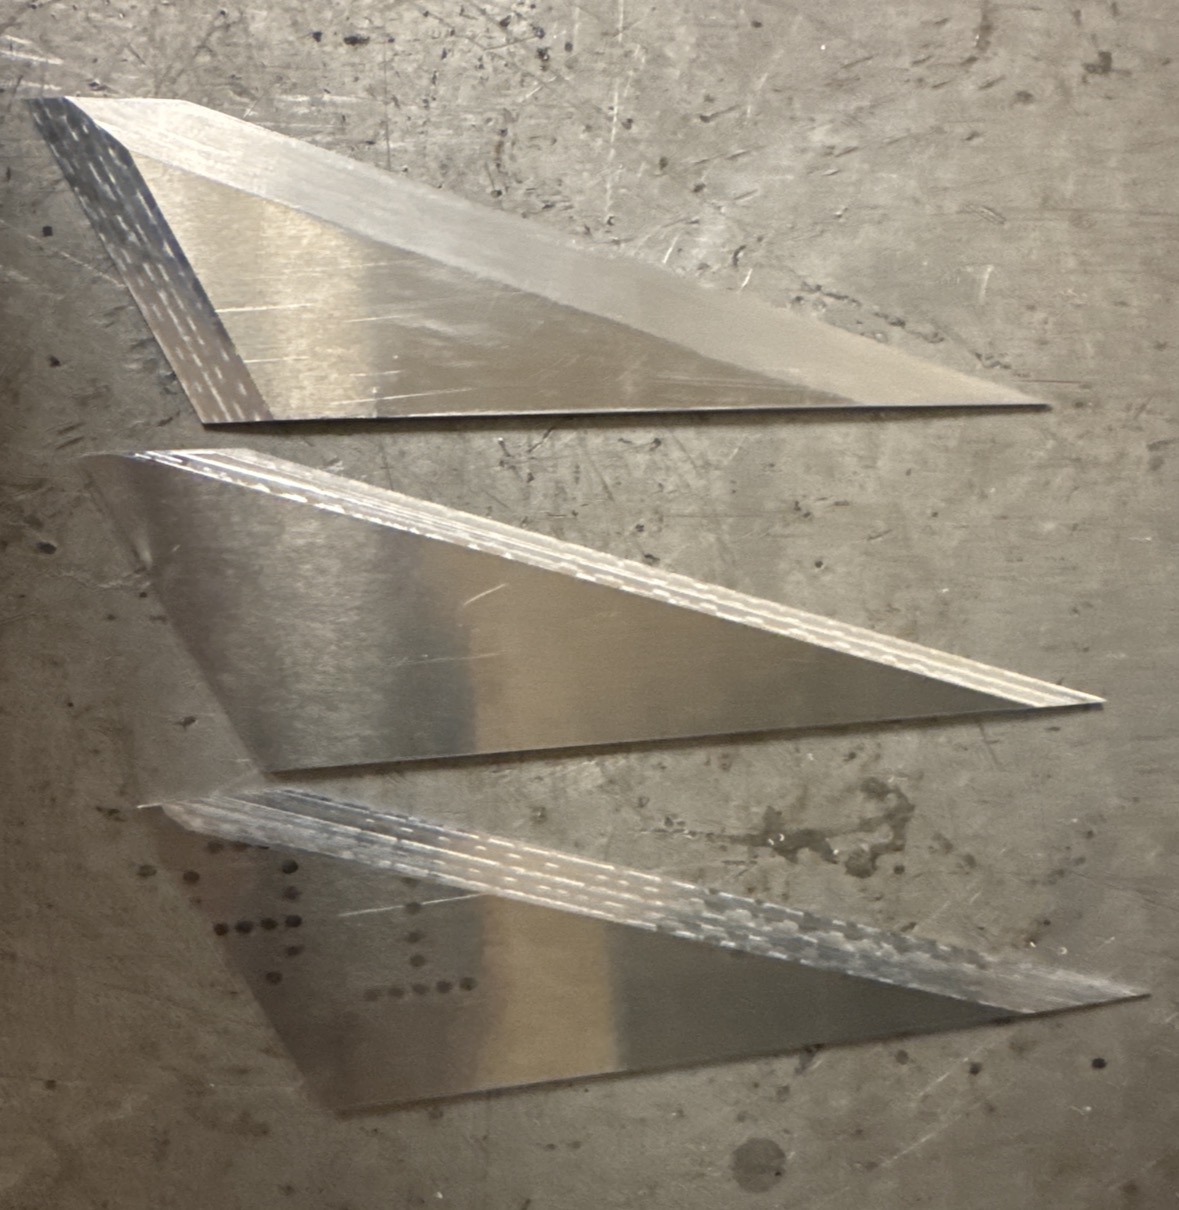
Composite body tube on the filament winding machine.Three CNC-routed and beveled rocket fins.

I manufactured the nosecones and composite airframe components in house using winding and hand layup techniques. The fins were also CNC-routed and beveled in house.
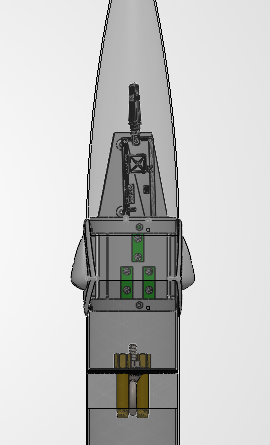
CAD view of the rocket camera payload assembly with external camera housings.
The planned payload uses external, downward-facing cameras to capture the exhaust plume and the rocket’s position relative to the ground. By exploring these designs, I hope to develop camera systems that provide more detailed flight footage for future team rockets.
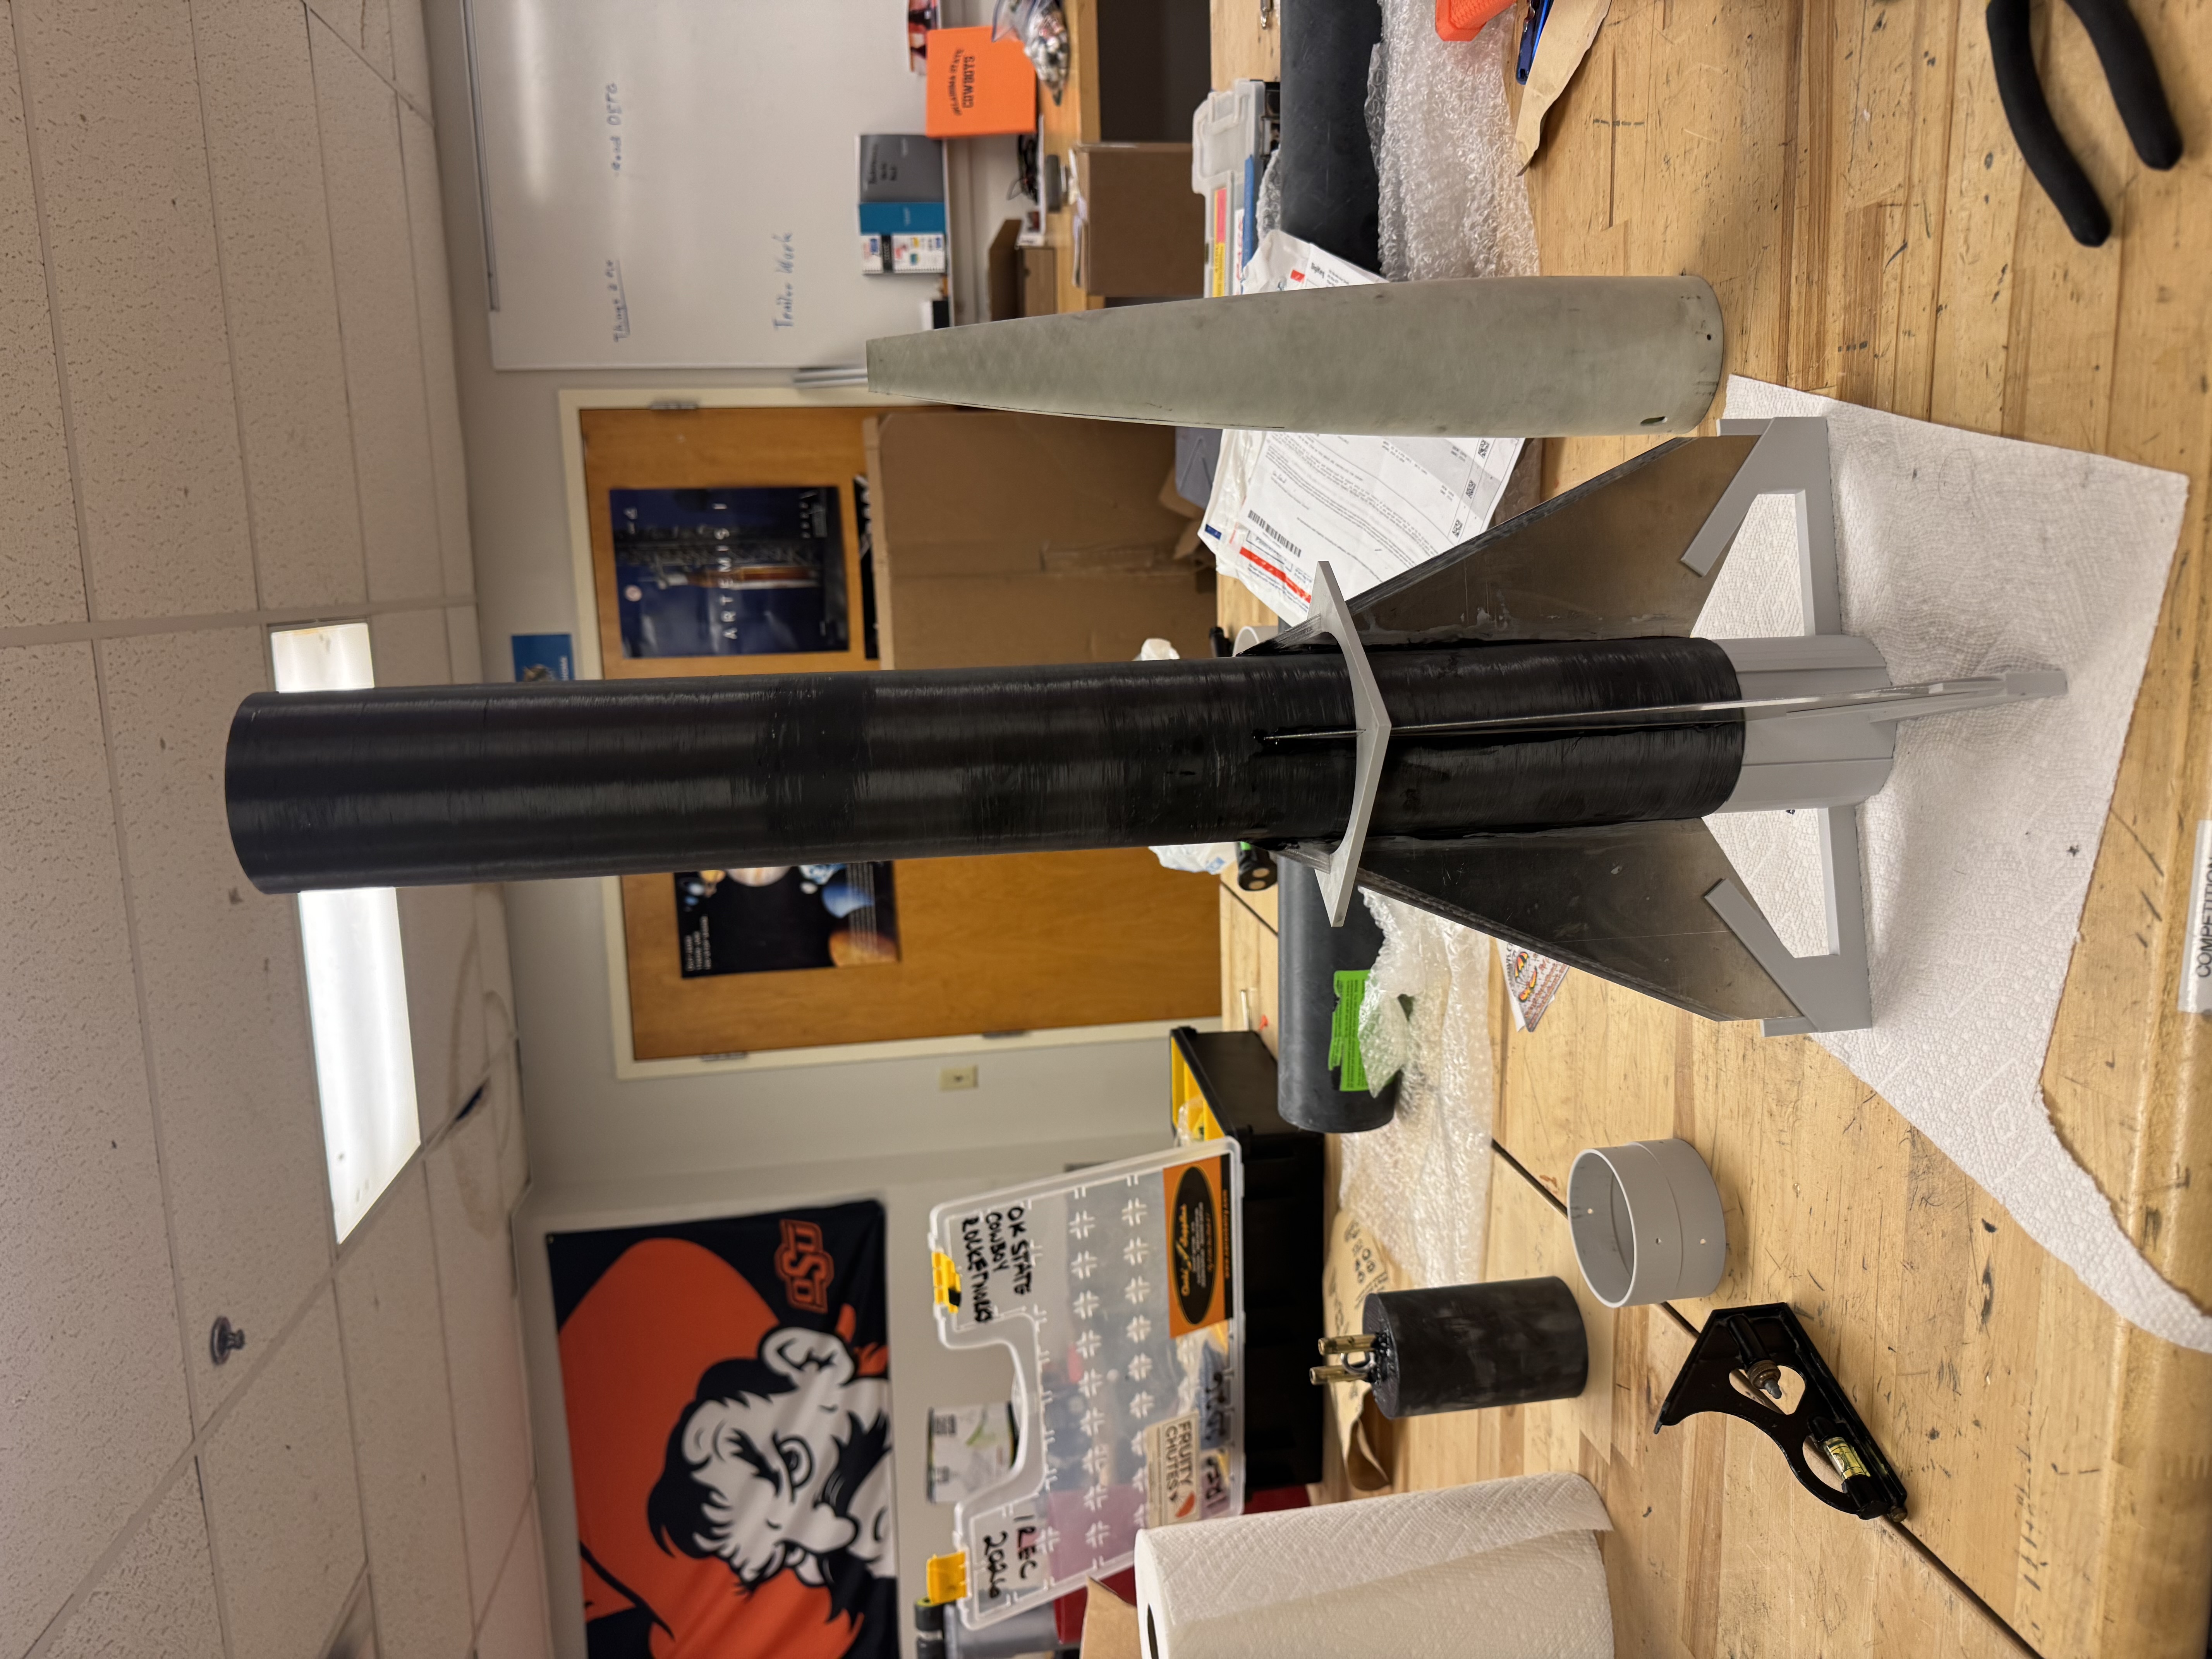
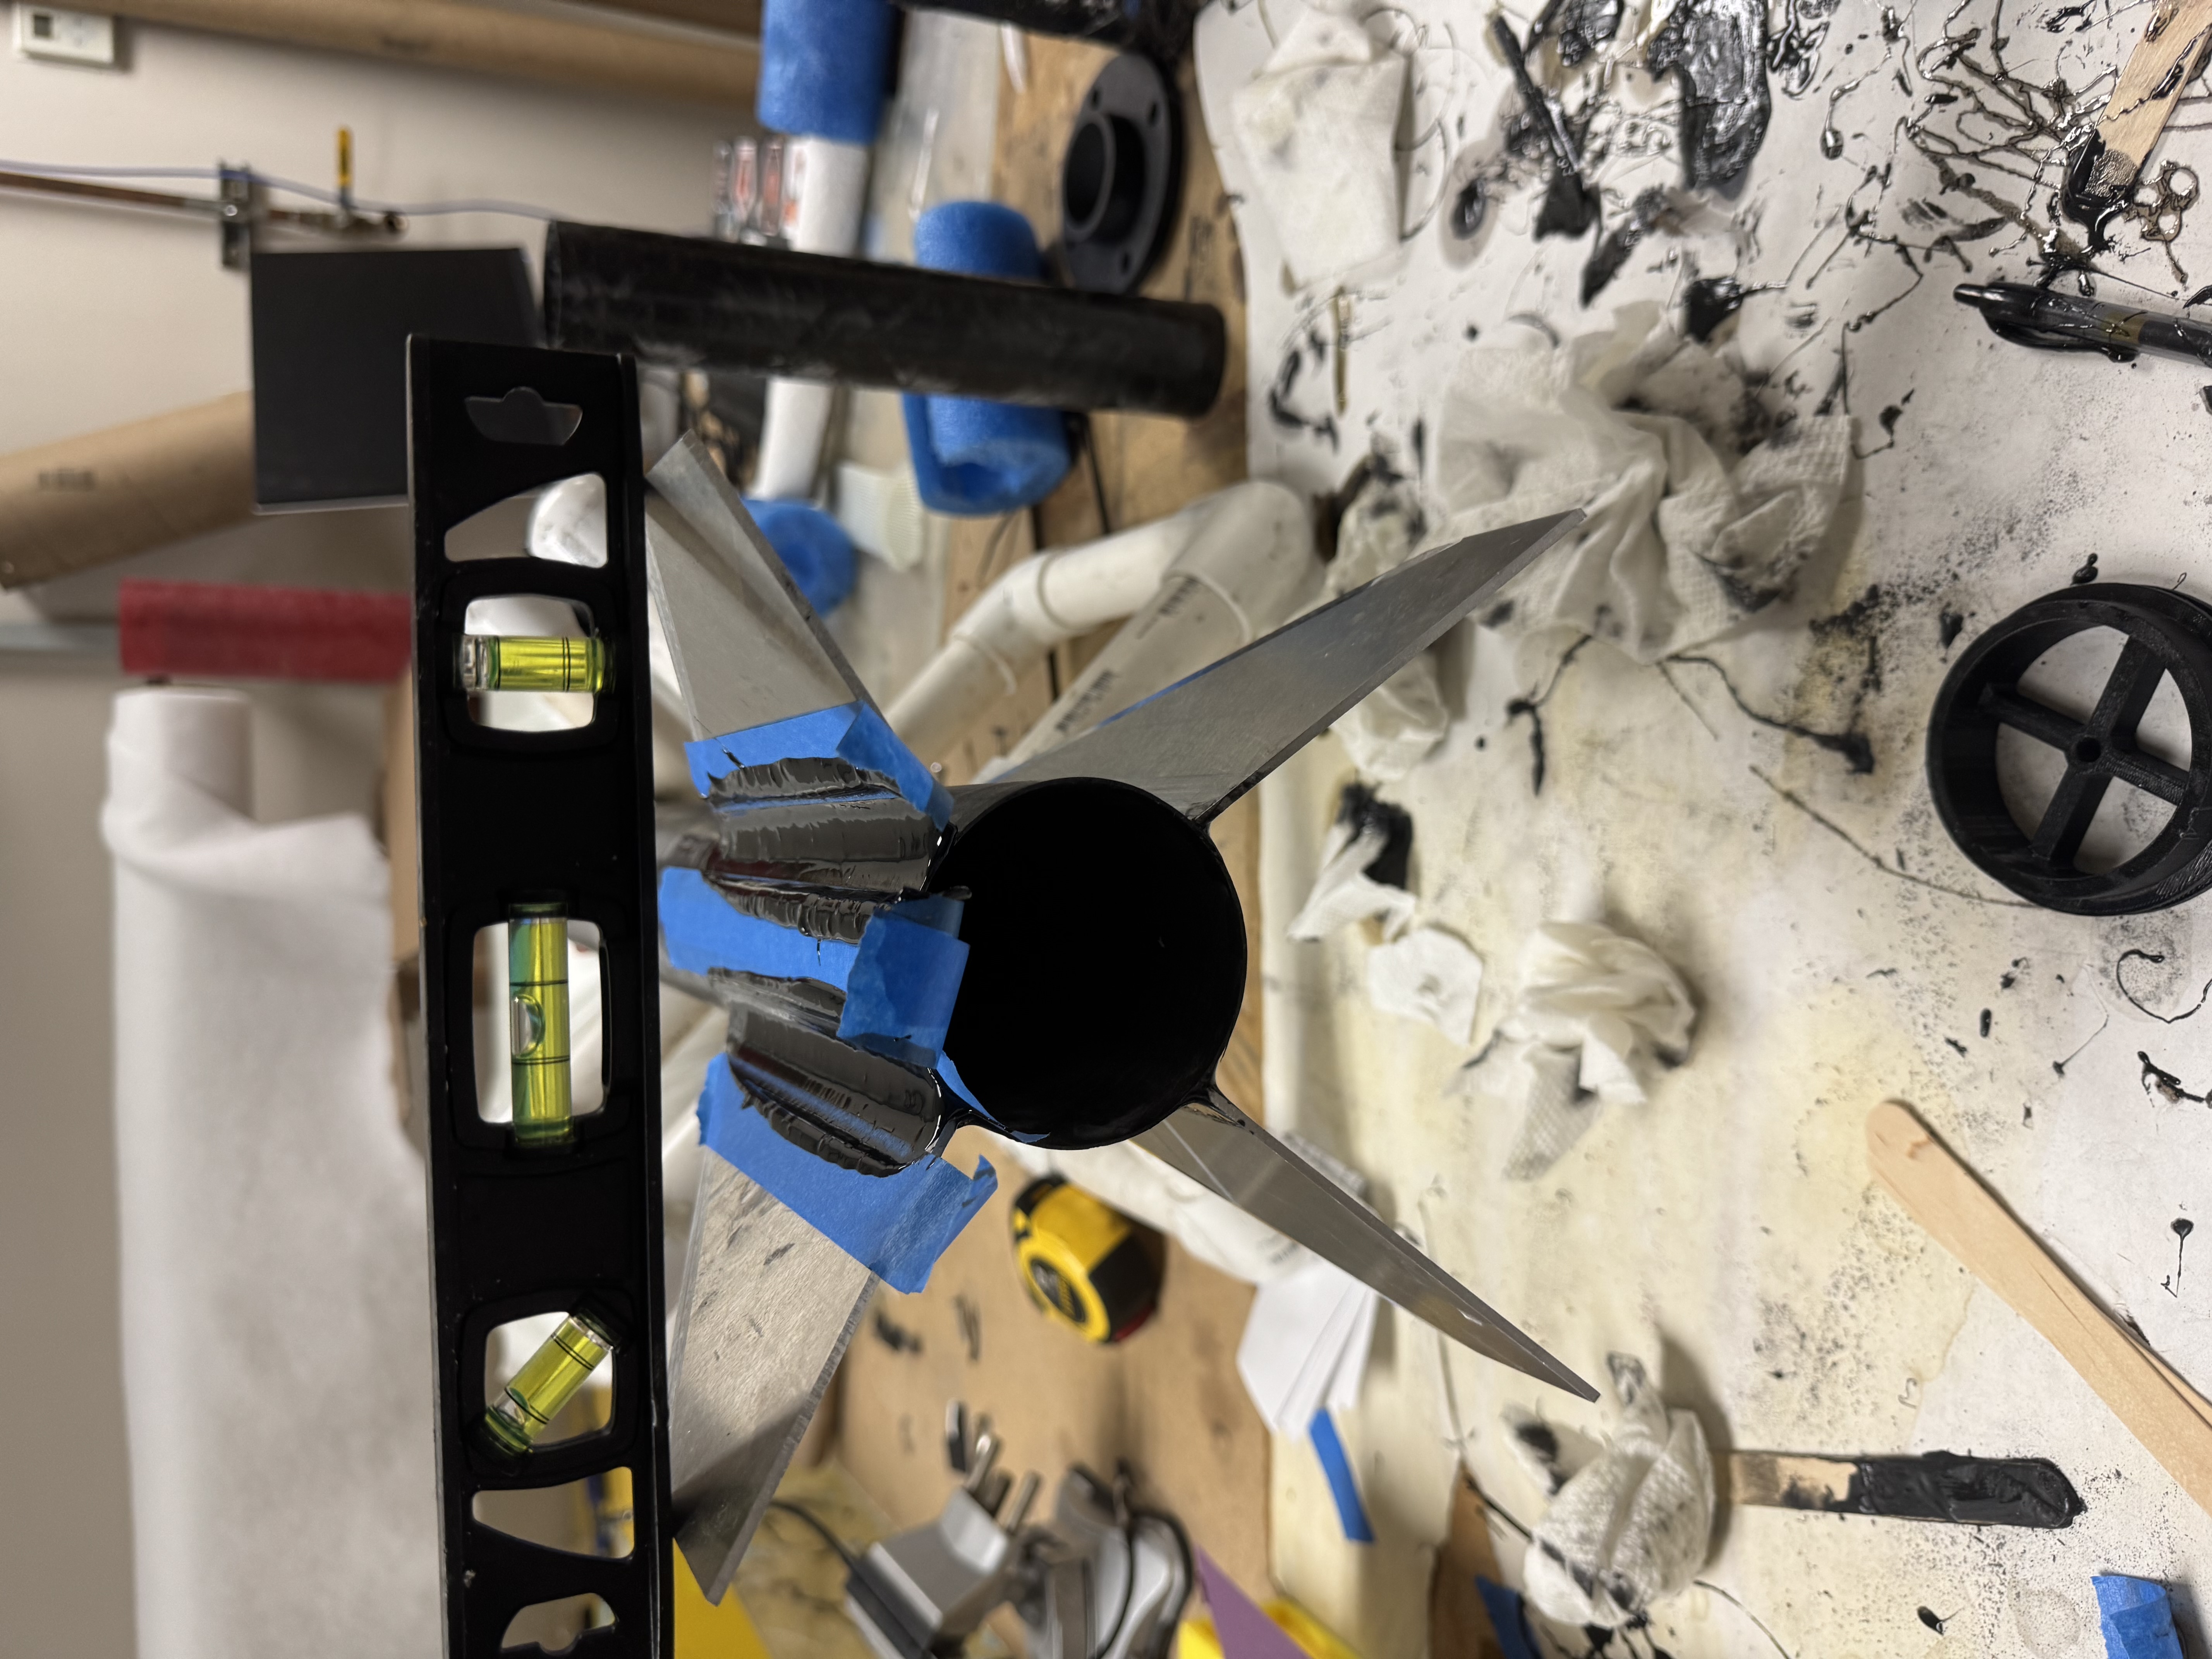
Rocket fins during assembly with a spirit level across them.Rocket body and fins supported by printed alignment jigs on a workbench.
I explored several construction approaches for this rocket using FDM-printed jigs.
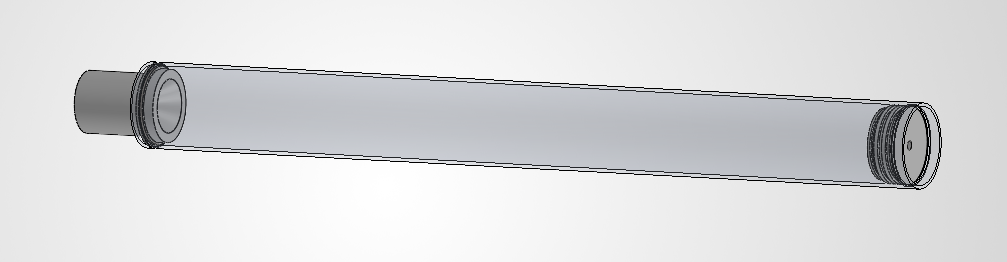
CAD drawing of the planned snap ring motor case assembly.
Other projects have taken priority, so I’ve postponed this rocket’s flight until the October fun fly, where I plan to fly it on a K375. In November, we plan to fly it with our own snap ring motor case design, using components made entirely in house.